Tuesday, August 31, 2010

Much Better

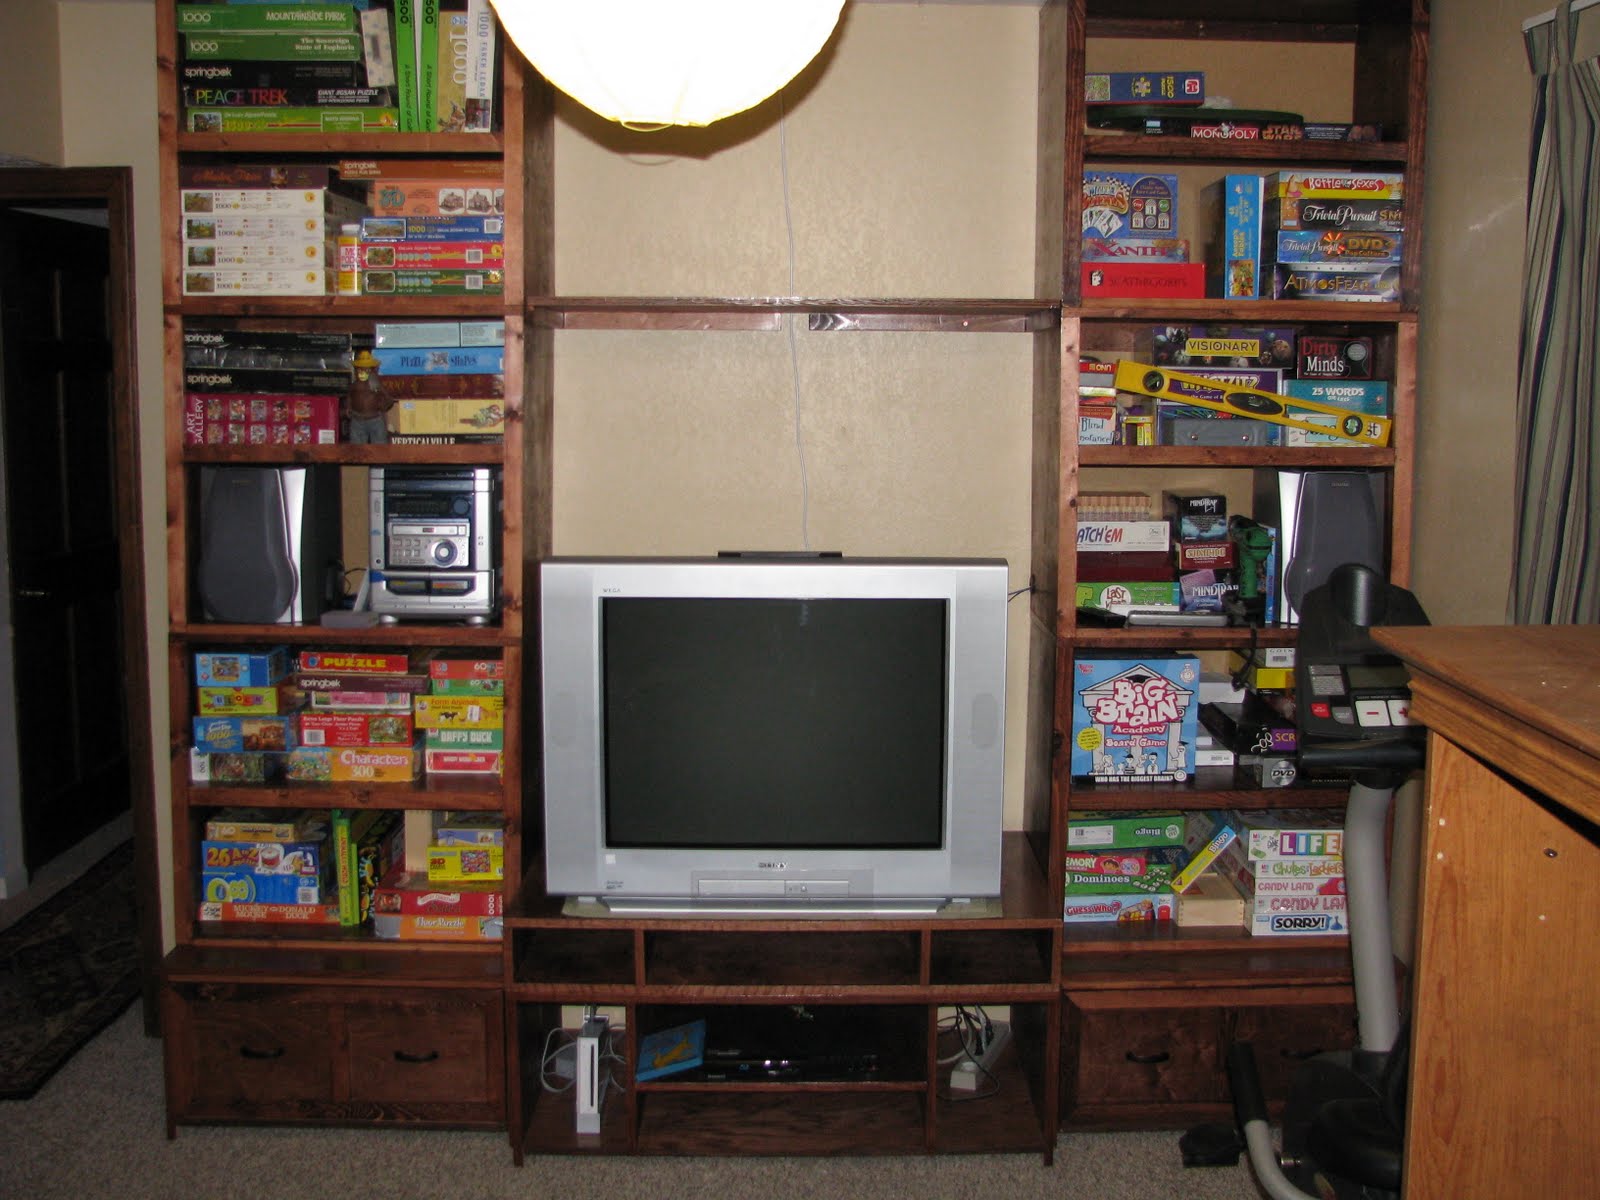
My last post talked about how there was just something wrong with that shelf. My wonderful husband came up with just the right solution. We can keep the shelf up top and make it look better by adding a back piece of wood thus making it all seem build together and not just an open shelf. Somehow he figured out it was seeing the wall that was bugging me so much. I gave it a try with a back piece and I have to say, he is SO right. I love how it looks now. I was also able to get the base trim on there finally so there is only 3 small pieces of trim left to put on there and THOSE DOORS!!!

Loving the new large open shelf up there! First the base trim!


And then my shelf. :-) I will be putting some 1/4 round trim on the right and left to cover my gaps. Just didn't have time tonight.


And the overall look. I think its time to stop procrastinating and build those doors!

Monday, August 23, 2010

Not Quite Right

I was able to get the riser done and installed last week (yup, I have not gotten around to posting about it sorry) but I didn't finish the top part of the unit. I still can't quite place what it not right. I kind of want a shelf up there, but as you can see in the pictures below, its just not quite right. We can ignore the fact that there is no front facing to cover the edge. I am just not sure that just a shelf is all it needs. I am leaning more toward perhaps changing it to a full cabinet up there. Just to keep the finished look.

What do you think? I can't even tell you how much I look forward to having the time to build some doors. I am really really really wanting a cleaner look. At least its organized with puzzles on the left and games on the right!


Sunday, August 8, 2010

What Stage Am I On Again?

I have lost count with the number of stages this project has. In any case I made some great progress this weekend. I even managed to finish this latest stage on Saturday so today we could clean house a bit, which is a nice treat for the whole family...

There is not much to say beyond it being installed and filled now. I didn't take a picture of it filled with games and puzzles, but its definitely done its job of holding all our games and puzzles in one set of cabinets instead of 3!

I can't wait to see how nice it will look one I have doors on it as well....in time...for now, I can stop and breathe a bit. :-)

Saturday, July 31, 2010

Stage 2 of Install!

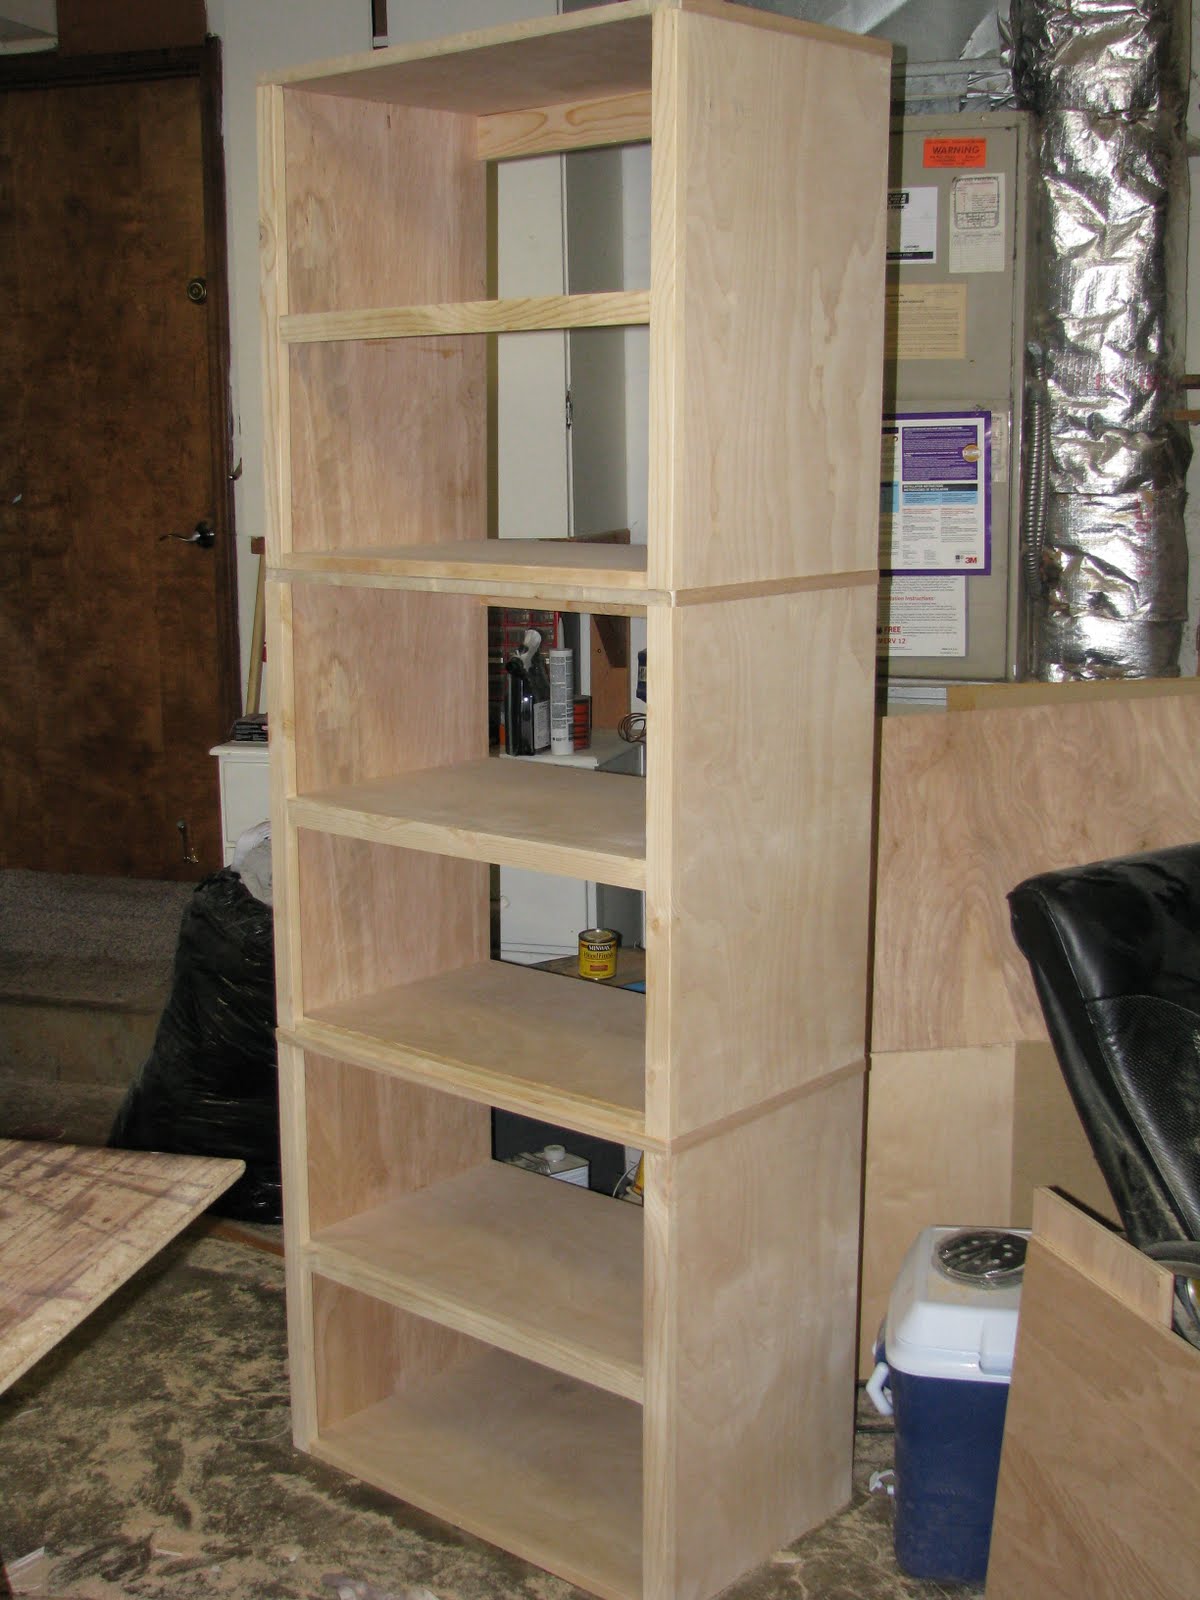
I was able to install the 3 cabinets FINALLY. When last I posted some pictures I had the carcasses built, but not trim work stain etc. Well here are a few to show how I got from there to here.

All trimmed out and I covered the sides of the plywood tops with the veneer tape. The wide piece at the top of the back is so that I can screw the whole cabinet to the wall stud for safety.


Time to stain it!!


And looking at it straight on. I didn't stain the tops because they are stacked that part wont show anyway.

Now they just needed the backs put on them and after 3 coats of shellac, I put them in the house!

I am going to build 2 of the next 3 cabinets with that shelf  at a different place. The stereo wont fit in there as it is. So they shelf will either be lowered or highered to make room for the stereo. So even though there are 2 on the right side, that top one will come back down and the adjusted ones I will build will go at that level. Then this cabinet will go on top of it all. I can't wait to get the others built. Its going to look so wonderful!


Obviously the base trim still isn't on there. Not to mention the cabinet doors are not on there either. Those are next on my list of things to get done. I am having a hard time figuring out what style of cabinet door to do. I am being a rebel and instead of making 2 cabinet doors for each cabinet, I am going to make 1 larger one for each one. Saves on hinges and the trouble of hanging them straight. Let's hope it doesn't look bad that way.

Stay Tuned for More to Come!